1 Quick Start Guide
1.1 Get an account
Click the login link located in the upper right hand corner of most Carnap pages, and log in with a Google account (a Gmail account works, but you can also make a Google account with a different email).
Email Graham Leach-Krouse at gleachkr@gmail.com using your institutional email address to request instructor status.
1.2 Make your first assignment
1.2.1 Carnap’s assignment format
An assignment in Carnap is a document which may include text (e.g., instructions for your students, where to find the relevant material in your textbook, etc.) but mainly will include Carnap code blocks. Each Carnap code block corresponds to one problem. They can be of any of the types listed on the main page. They are:
- Derivations
- Truth Tables
- Translations
- Model Checking
- Gentzen-Prawitz Natural Deduction
- Sequent Calculus Deductions
- Qualitative Problems, e.g., multiple-choice
- Truth Trees (Semantic Tableaux)
- Syntax Checking
Each assignment document is a plain text file formatted in Markdown, a simple markup language. (Typically, the extension of Markdown text files is .md.) You can find a comprehensive introduction in the Markdown Guide including a list of editors that support Markdown. For a quick reference, try Learn Markdown in 60 seconds. Any plain text editor is fine, but Markdown (and Carnap) are sticklers about spaces and newlines in Markdown documents. So make sure your editor does not automatically wrap text.
1.2.3 Converting existing problem sets
If you already have problem sets in another format, you can turn them into Markdown for use on Carnap. If your problem sets are written in Word, there is a Markdown export plugin: Writeage. Or, select Save As (Plain Text) and then recreate the formatting in the resulting text file. If your sheets are in LaTeX you can use Pandoc. Here is an online converter (select from LaTeX to Markdown (pandoc)).
1.2.4 Carnap code blocks
Next you turn each problem into a Carnap code block. For instance, a translation exercise will be put into your Markdown document as:
~~~{.Translate .Prop}
3.1 P/\Q : People want to know what's going on and questions are unavoidable
~~~
.Translate tells Carnap that you want a translation exercise. .Prop tells Carnap it should use its propositional equivalence checker to test if the solution provided by the student is equivalent to the solution you provide. The number 3.1 indicates the exercise number. It is followed by a model solution. The colon separates the solution from the text that will be presented for translation. The result of the above is:
Each Carnap code block takes a number of options as well, which are described in the linked pages above. The most important one is perhaps the system attribute, which determines the syntax and symbols used for sentences entered as solutions which Carnap will accept, and how Carnap formats formulas it displays to the student.
For instance,
~~~{.SynChecker .Match system="LogicBookSD"}
1.1 (P /\ Q) -> R
~~~
~~~{.SynChecker .Match system="thomasBolducAndZachTFL2019"}
1.1 (P /\ Q) -> R
~~~
will generate:
The attributes LogicBookSD and thomasBolducAndZachTFL correspond to the syntax and conventions of The Logic Book, and forall x: Calgary, respectively. The available system attributes are described on the Systems page.
Options common to all exercise types, such as how many points a problem is worth, are described on the Carnap Pandoc page. There you will also find a more in-depth description of the format of Carnap’s documents.
1.3 Upload and test your document
On your Instructor Page on Carnap, there is a Manage Uploaded Documents tab where you will upload your finished assignment documents.
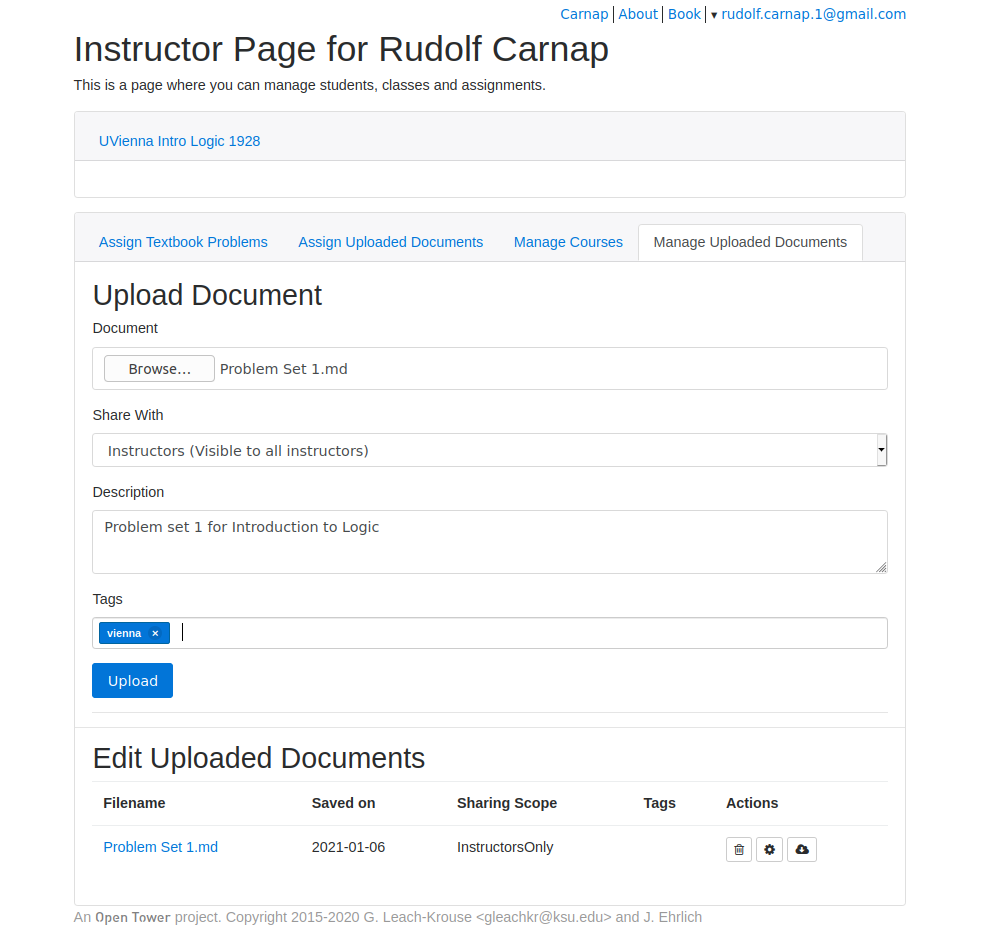
Once a document is uploaded, it will show up in your Instructor Page in the Manage Uploaded Documents tab. If you click on the file name, Carnap will display the document to you the same way that students will see it. You might first have to go through a bit of proof-reading. If the page contains an error message instead of the problem you expect, it’s probably because you misspelled an option or did not use the correct syntax for your selected system.
1.4 Set up a course and assign your problems
Once you are ready to give your problem sets to students, you have to make a course for them to enrol in. You do this on your Instructor Page in the the Manage Courses card. You will provide your students with an enrolment link which you can find at the bottom of your class card. This video describes what this process looks like for a student. See the documentation of the Carnap Dashboard for more detail.
When you (and your students) are ready, you can assign any of your uploaded documents to your students. Carnap will allow them to complete and submit them. Once a problem is submitted, Carnap records the point value you have given to the problems as a score for the student. Students can see on their Student Home page which problems the have submitted and how many points they earned. You can also (in the course card for your course) see a list of enrolled students. Below the student roster, there is a link to download grades (per assignment, per problem). Your course card will look something like this:
